Gamemasters · Onboarding
Signup & First Steps
Create a free account, verify your email, and make your first course — no House required.
Verified against app build 2f427ecbd · 2026-09-24
Getting started as a Gamemaster is free. You’ll sign up with your email, verify a code, and create your first House (a course). Creating courses and parties works on the Free tier; only AI generation requires an upgrade.
Your course is a House, so there is nothing else to set up. Sharing a course with other teachers is optional, and it is part of Lord; see Invite collaborators.
Three ways to sign in
The login card offers email and password, Google, and Apple. This guide follows the email route; Google and Apple skip the registration form and the verification code.
Look around first, no account needed
Want to see the experience before signing up? Open app.rpglms.com/?demo=1 — or tap Preview on the login screen — and the whole web app boots against local storage in your browser. Every screen is the real one, including course creation; nothing is saved to RPGLMS’s servers and nothing leaves your browser. Sign up when you want work that persists and can be shared.
Create your account
Roll for initiative
Launch the app and tap anywhere on the title screen — the prompt reads ROLL FOR INITIATIVE. A d20 rolls and, since you’re not signed in yet, you land on the login screen.
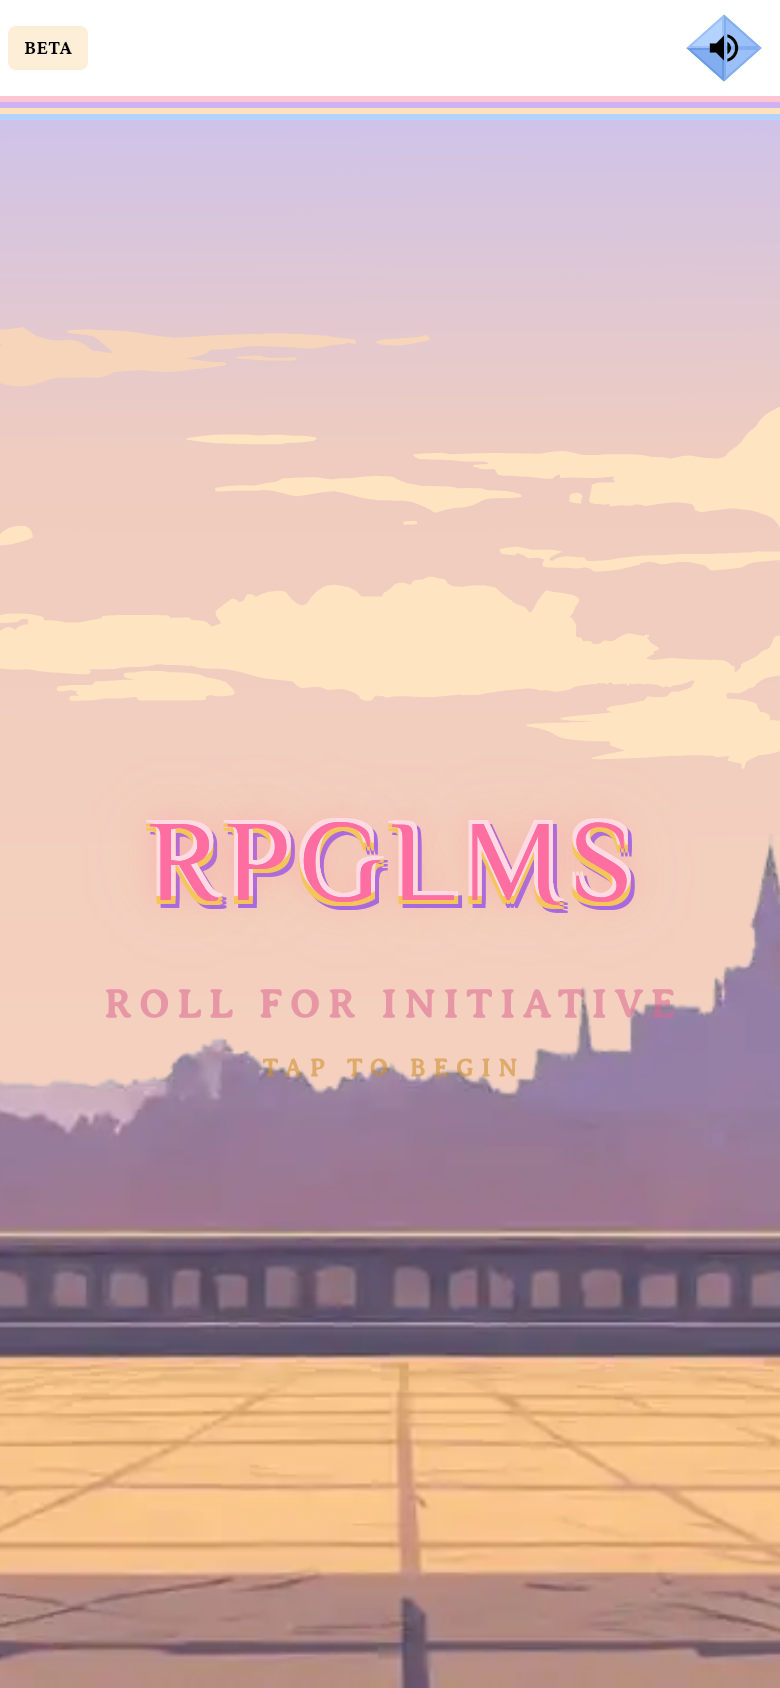
The cold-boot title screen.verified @ 2f427ecbd Choose Email, then Sign me up!
On the login card (heading RPGLMS, tagline “Leveled-Up Learning”), tap Continue with Email. The sign-in dialog opens on Requesting Credentials; tap Sign me up! to switch to registration — the header becomes Sign Up, Adventurer!
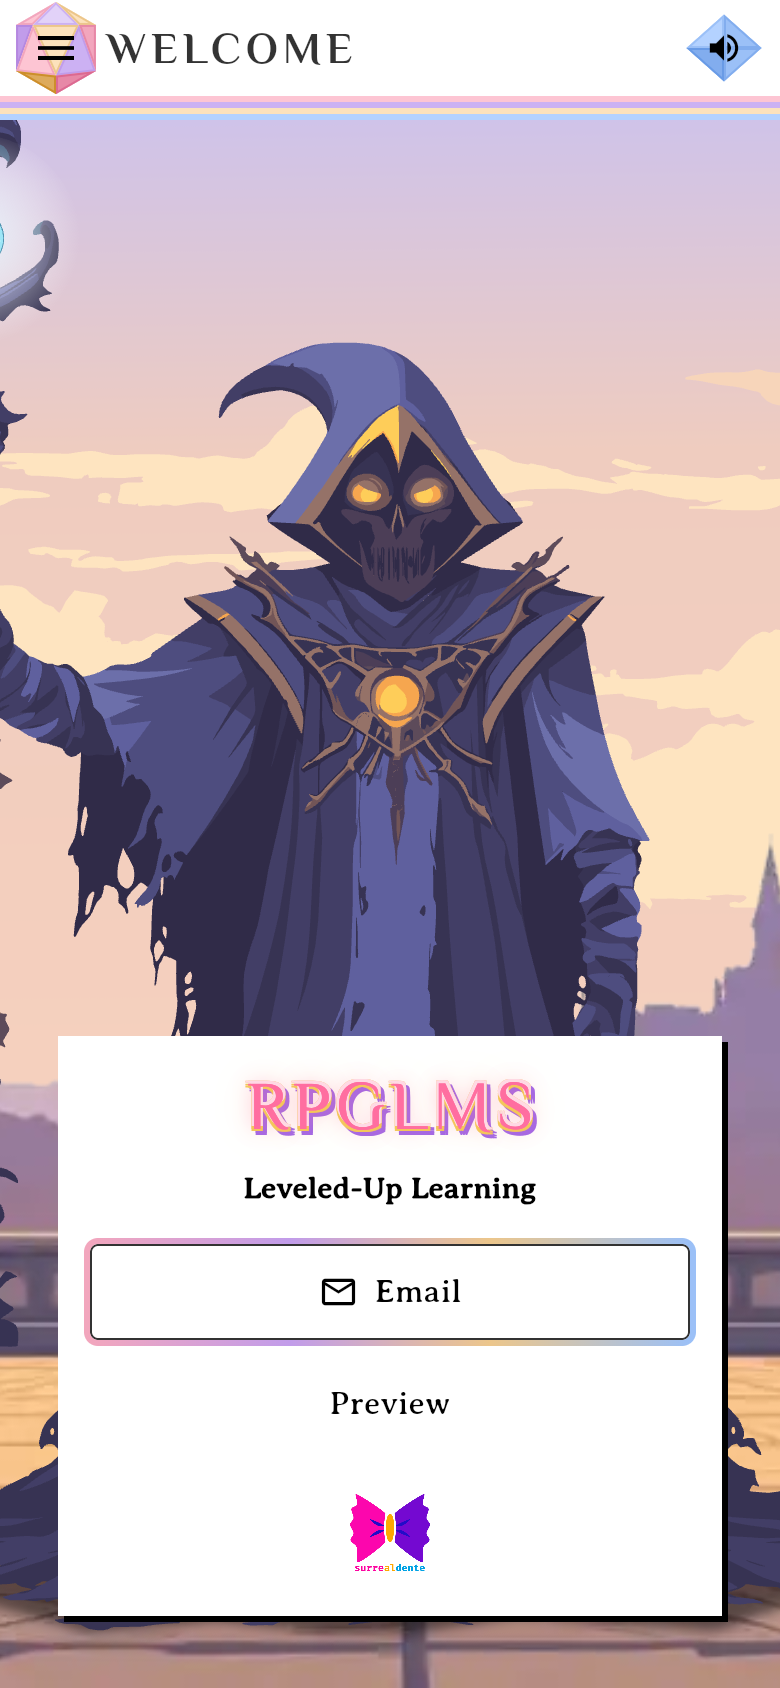
Email, Google or Apple — this guide follows Email.verified @ 2f427ecbd Answer the age question
Before any form, RPGLMS asks When were you born? — “We ask everyone this when they make an account.” Enter the month, day and year and tap Continue. It’s asked once per device, and Google and Apple sign-in ask the same question before their sheets open. Sign-ups for under-13s are closed for now; the screen explains that and stops.
Fill the registration form
Enter your Email, First Name, Last Name, and Password — a live checklist shows the password requirements. There is also an optional Class code field if a teacher gave you one. A legal notice above the button reads “By continuing you agree to the…” — tapping Continue is your acceptance; there are no consent checkboxes to tick. Submit stays disabled until the fields are filled and the password is valid.
Capture pendingThe filled registration form with the legal notice above Continue and the plan chips Free, Explorer, Teacher and Enterprise1440 × 900 · 16:10The signup form, with the Free / Explorer / Teacher / Enterprise plan chips.verified @ 2f427ecbd Verify your email
RPGLMS emails you a 6-digit code. Enter it on the Verify account screen and tap Create account. There is no separate completion screen — a valid code signs you straight in.
Capture pendingThe Verify account screen with the six-box code field1440 × 900 · 16:10Enter the 6-digit code from your email.verified @ 2f427ecbd Meet Your Hero
First sign-in opens the Meet Your Hero avatar sheet over Base Camp — this happens once, automatically. Pick your Face (skin, hair, ears, lips), Fit (helmet, armor, guards, cloak) and Fab (glasses, earrings, headband), or tap the green arrow to skip. Nothing here is permanent; you can change all of it later from the Player Journal. Options marked with a padlock unlock with a Patron+ subscription — the free set still builds a complete character.
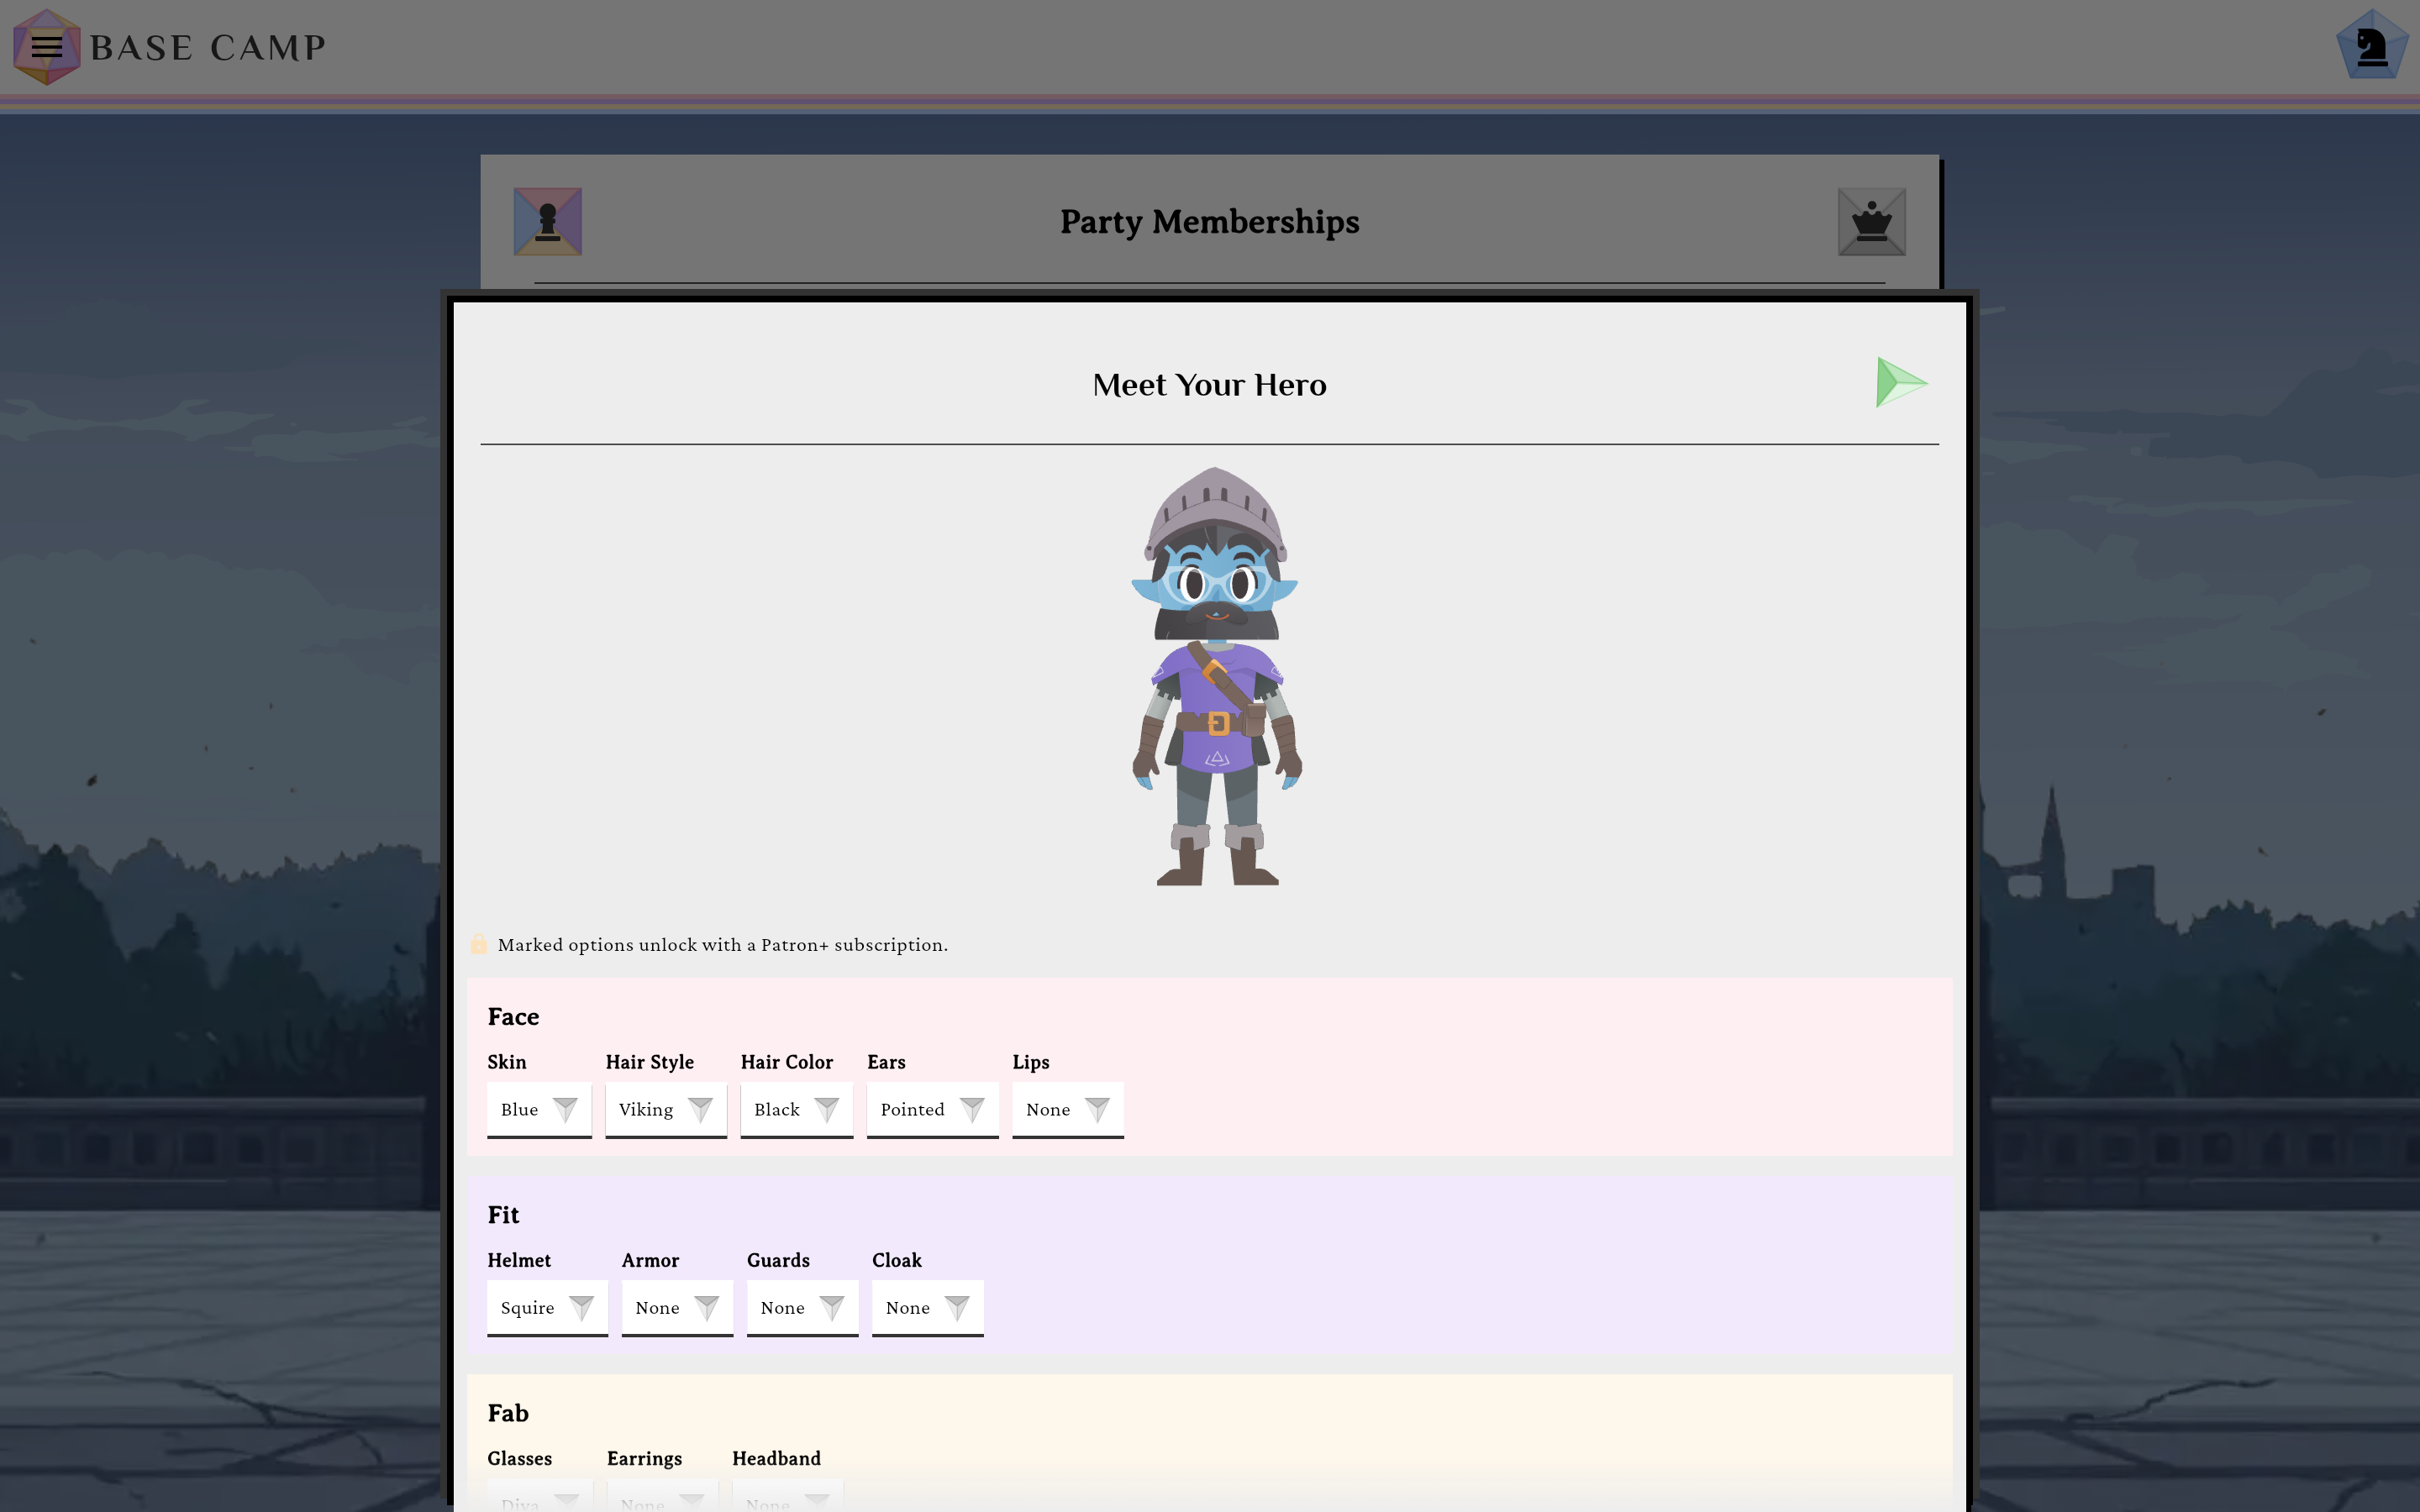
Shown once, on first sign-in. The green arrow skips it.verified @ 2f427ecbd
Make your first course
Find the Gamemaster Quarters tab
On Base Camp, a brand-new account lands on a single card with two tabs — Party Memberships and Gamemaster Quarters. Tap the crown at the card’s right end to switch to Gamemaster Quarters. A new account sees Create House (Course), “No Houses yet”, and a row with House Management (every course you own, archived ones included) and the Guidebook.
Capture pendingBase Camp for a new account showing the Gamemaster Quarters tab with Create House (Course), House Management and the Guidebook button1440 × 900 · 16:10The new-user Base Camp, on the Gamemaster Quarters tab.verified @ 2f427ecbd Tap Create House (Course)
It’s the one create button in Gamemaster Quarters. A new unit is added later from inside its course, never from here.
Answer the steps and tap Create
Name the course and pick its subject and audience, keep or change the Lore, choose manual or the AI wizard, frame the first Campaign (the opening unit), and name your first Party. Tap Create: in one transaction the server mints the House, its first Campaign and that Party. You get the class join code at once, then land on your new course’s page (the wizard route opens the Builder instead).
Open a unit to build it
Open a Campaign to reach the Builder, where you author paths, nodes and content. Create a Campaign → Path → Node walks every step of the create flow and the Builder in full.
If something goes sideways
Sign-in errors appear inline beneath the submit button (not as pop-ups). If you close the dialog mid-verification, you’ll be asked to confirm (“Leave sign-in? Your verification progress will be lost and you’ll need to request a new code.”).
Want AI to draft content for you?
The AI Wizard in the builder is available on the Patron tier and up — Free accounts build manually. See Generate Objects with the AI Wizard.